Comprehensive guide: how to choose the right materials for sauna ceilings
The sauna is the heart of the Finnish home, a place to relax...
Read more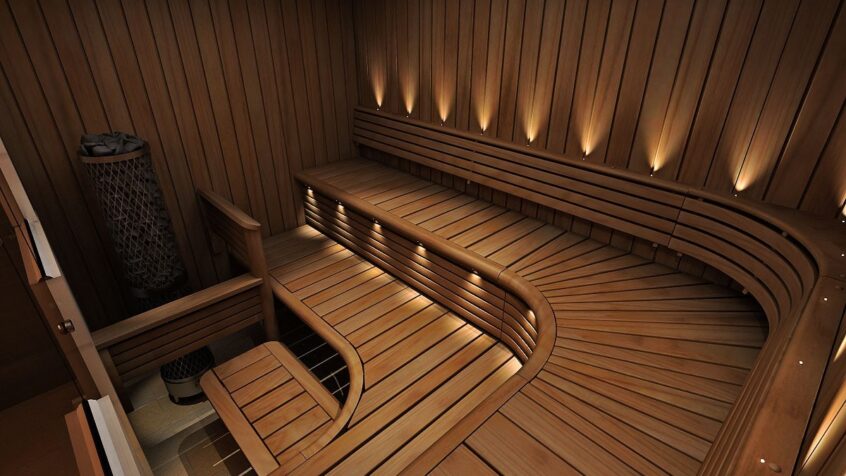
Are you tired of the sight waiting for you behind the sauna doors? Do you dream of a modern sauna that exudes peace and elegance? A sauna renovation could be just the solution to breathe new life into your home. Properly planned and executed, a sauna renovation will not only enhance the comfort of your home, but also add dignity. A successful sauna renovation requires careful planning. The following information and tips will ensure a smooth project, so you can successfully complete your sauna renovation from start to finish. When you want your sauna to be a place where relaxation and well-being go hand in hand, you’ve come to the right place. Read on and get ready to make your dreams come true.
The first step towards the sauna of your dreams is to clarify what you want to achieve with the renovation. Ask yourself what needs to change in your current sauna and what features you value most. Do you want more space, to improve your sauna’s energy consumption or to update the interior? These questions will help you outline the main pillars of your project.
Once you know what you want from a sauna renovation, it’s time to consider the financial side. Draw up a realistic budget that covers materials, labour and any unexpected expenses. Remember: it’s always wise to leave some flexibility for unexpected twists and turns that may occur during the renovation.
A well-planned schedule makes the renovation easier and reduces stress. Find out how long it will take to complete the different stages of the work and, if possible, agree a clear timetable with all parties involved in the renovation. This will ensure that the project runs smoothly from start to finish.
Once your needs, budget and timeframe are clear, you can move on to the next steps with confidence. Good planning is the foundation of a successful sauna renovation.
When renovating a sauna, the choice of materials plays an important role in both practicality and aesthetics. The materials you need will depend largely on the end result you are looking for. Do you want a traditional feel with natural wood surfaces or a more modern look with beautiful stone or glass materials? Here are some options to consider:
To make your sauna renovation as effortless as possible, you need the right tools for each step. Here’s a basic list of tools to have to hand:
With the right materials and tools, you can be sure that your sauna project will go smoothly and that the end result will be durable and beautiful. Make sustainable choices and don’t compromise on quality – it will reward you with every sauna in your home.
It is important to take appropriate safety measures before starting dismantling. Make sure you have goggles, hearing protection and work clothes available. This will help prevent injury during the work.
Contact a professional to make sure the electricity and water are safely turned off. This will ensure that you can work in peace without risk of damage or spills.
Demolition usually starts with the removal of ceilings and panels. Removing these can make it easier to dismantle other structures later. Be patient and careful to avoid damaging structures that you do not intend to replace.
Completing the demolition will give you a clear picture of the space you are working on. The preparations have been successfully completed, and you are now one step closer to having your new, updated sauna.
Building a new sauna starts with the frames and insulation. With good materials, you can ensure the durability and energy efficiency of your sauna. Start by installing the supporting structures and make sure everything is straight and sturdy. Installing insulation is essential to keeping the heat in your sauna, which is why we recommend high-quality insulation.
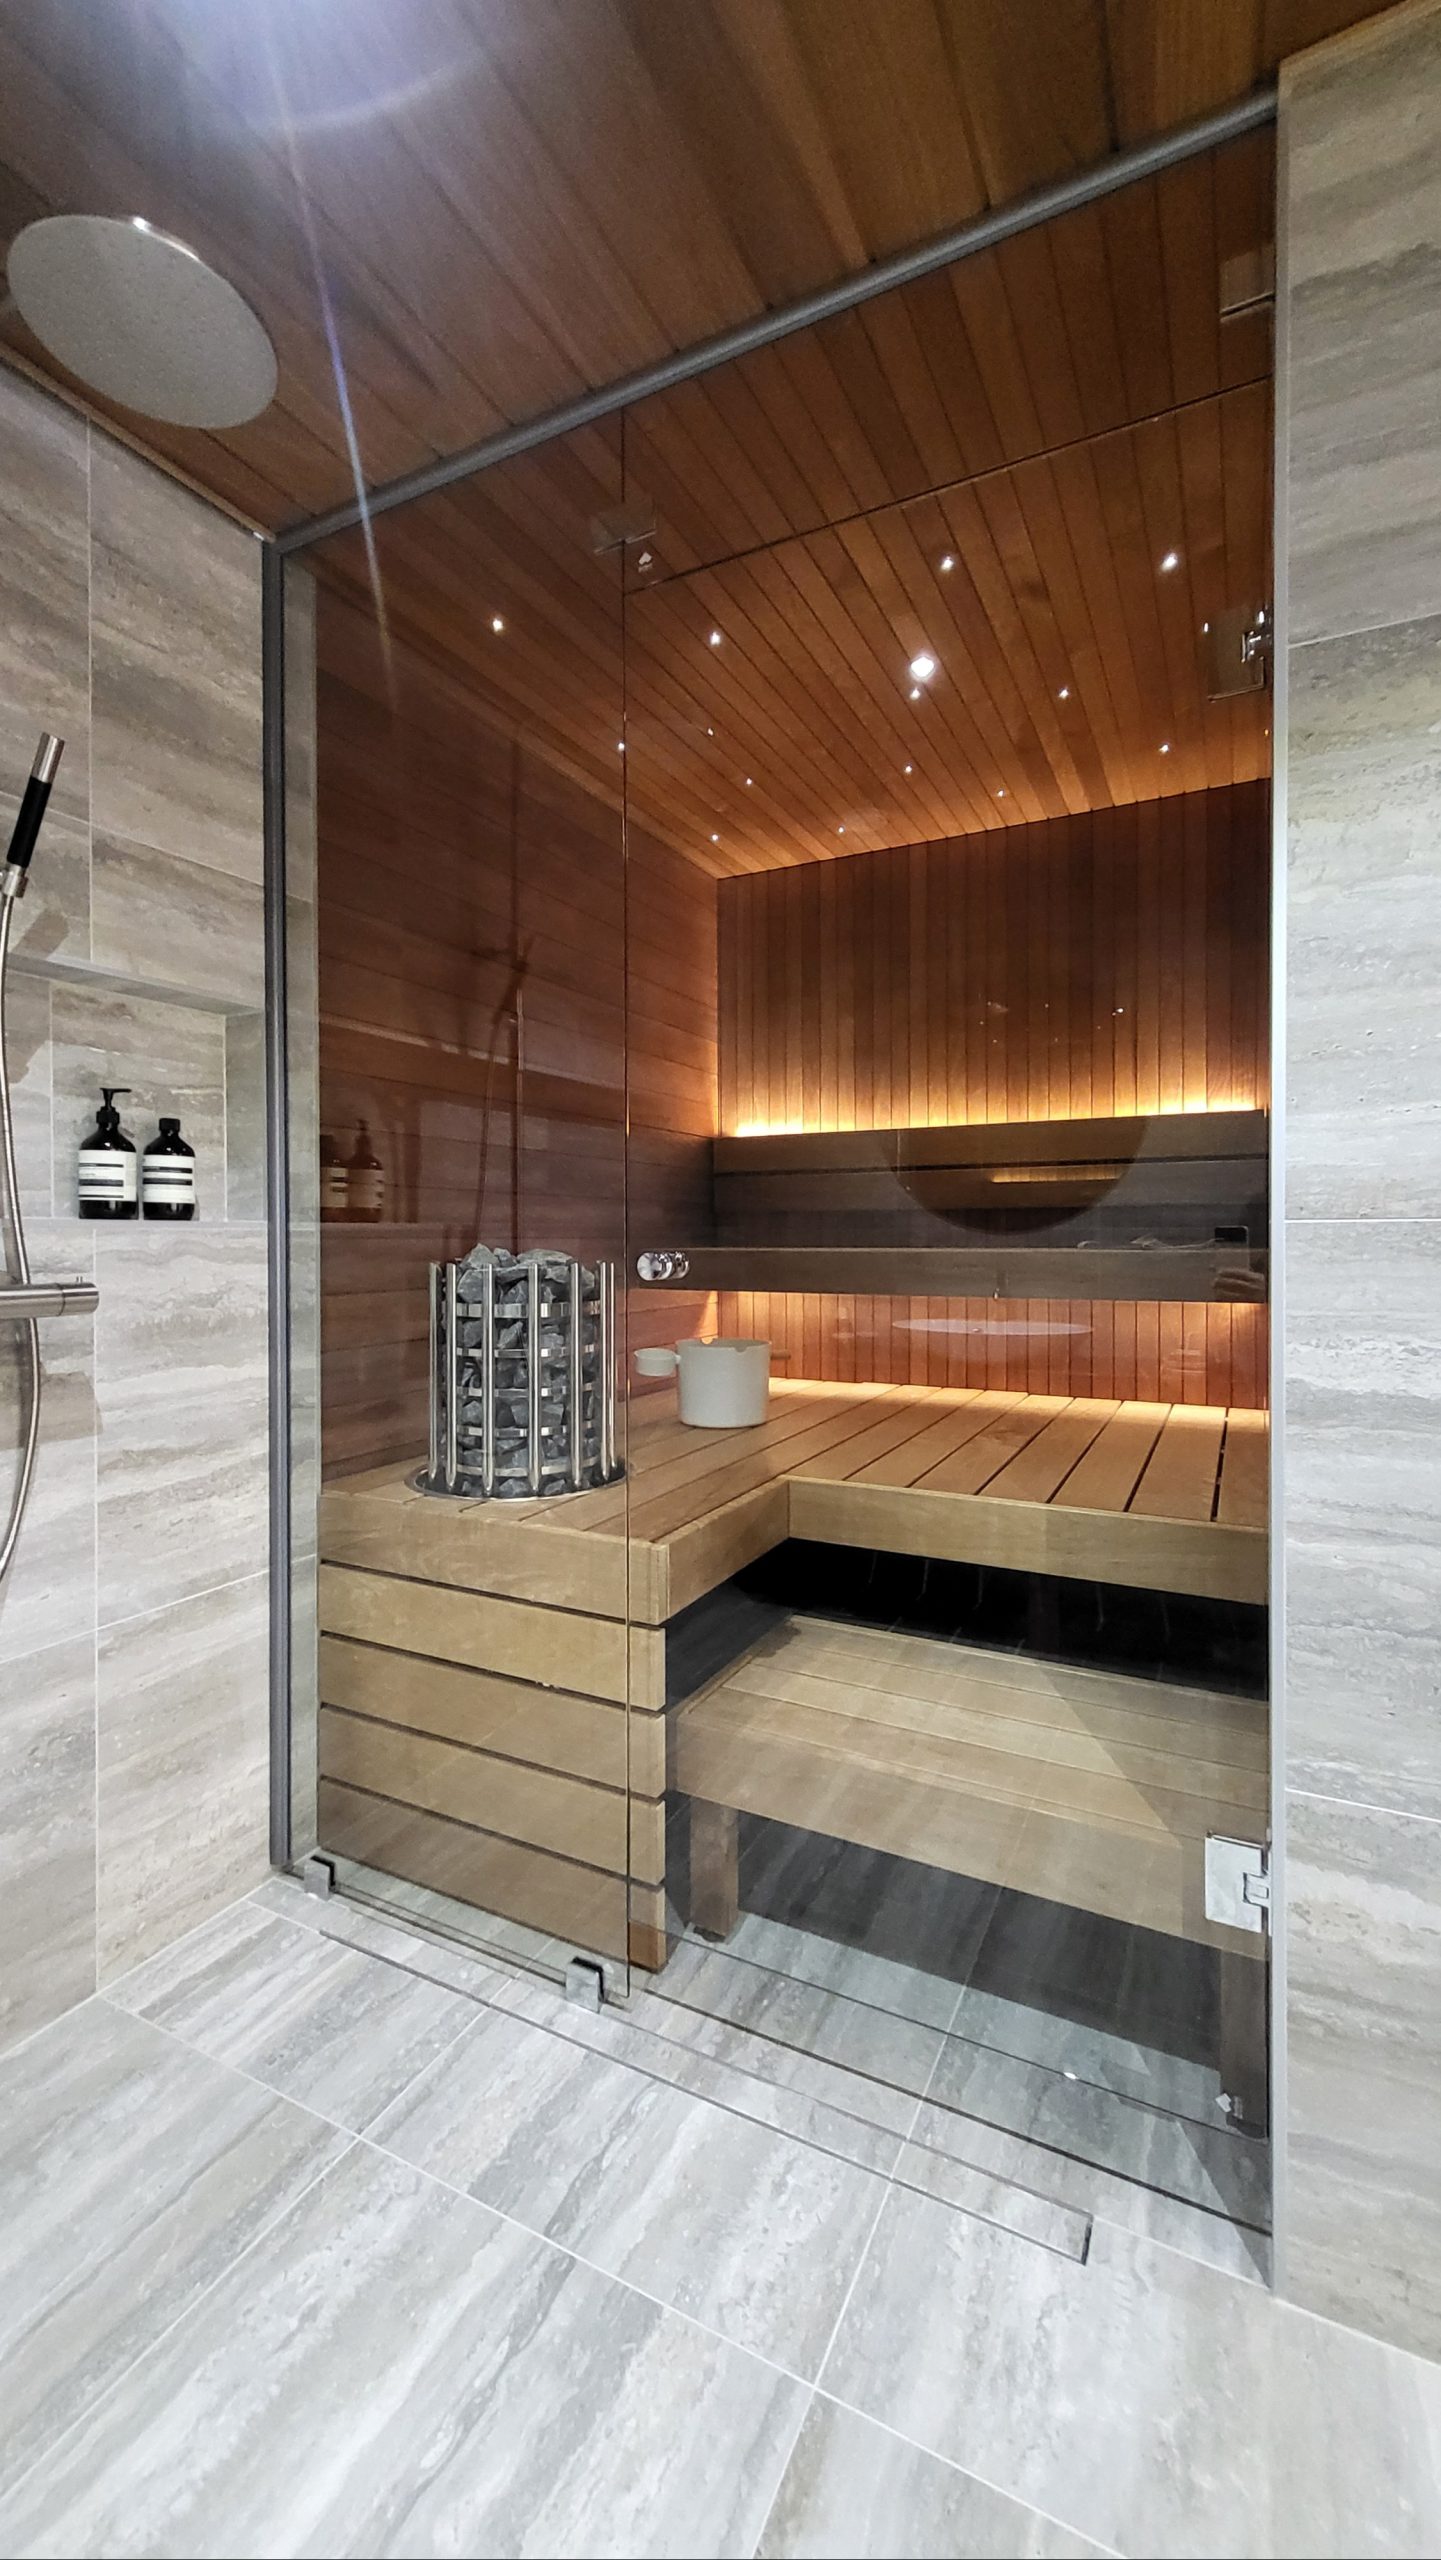
Choose a wood material that is both pleasing to the eye and provides a pleasant sauna experience. Panel installation usually starts from the ceiling and proceeds to the walls. Once the panels are in place, you can move on to installing the ceilings. Be sure to leave enough space for ventilation around the tiles.
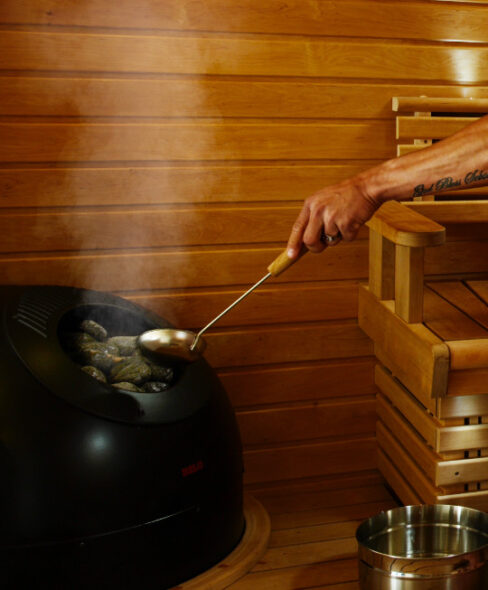
Heating plays an important role in the comfort of a sauna. Choose a heater that suits the size and purpose of your sauna. Install it according to the instructions at a sufficient distance from wooden surfaces. Don’t forget ventilation: it is an essential part of ensuring fresh sauna moments, so plan your ventilation well.
Once all these steps have been carefully completed, your new sauna will be ready to welcome you for a relaxing soak. The sauna is sure to become the crowning glory of your home, where the hustle and bustle of everyday life will be forgotten in an instant in the embrace of the warm steam.
Now that the construction work is behind you, it’s time to focus on finishing the sauna and protecting the surfaces. Use quality finishes that have been specially developed for sauna rooms. They help to keep the wood looking beautiful and protect against moisture and heat. Please note: untreated surfaces may be subject to wear and discolouration over time.
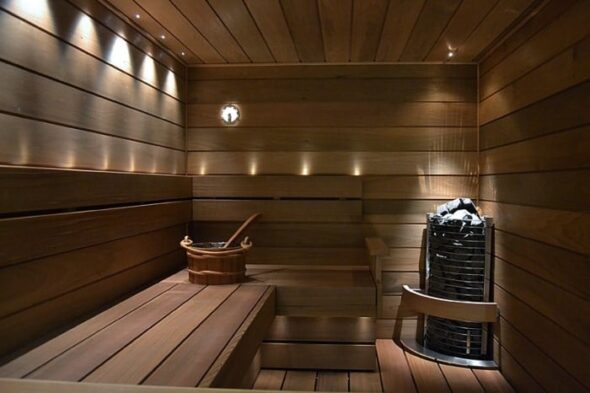
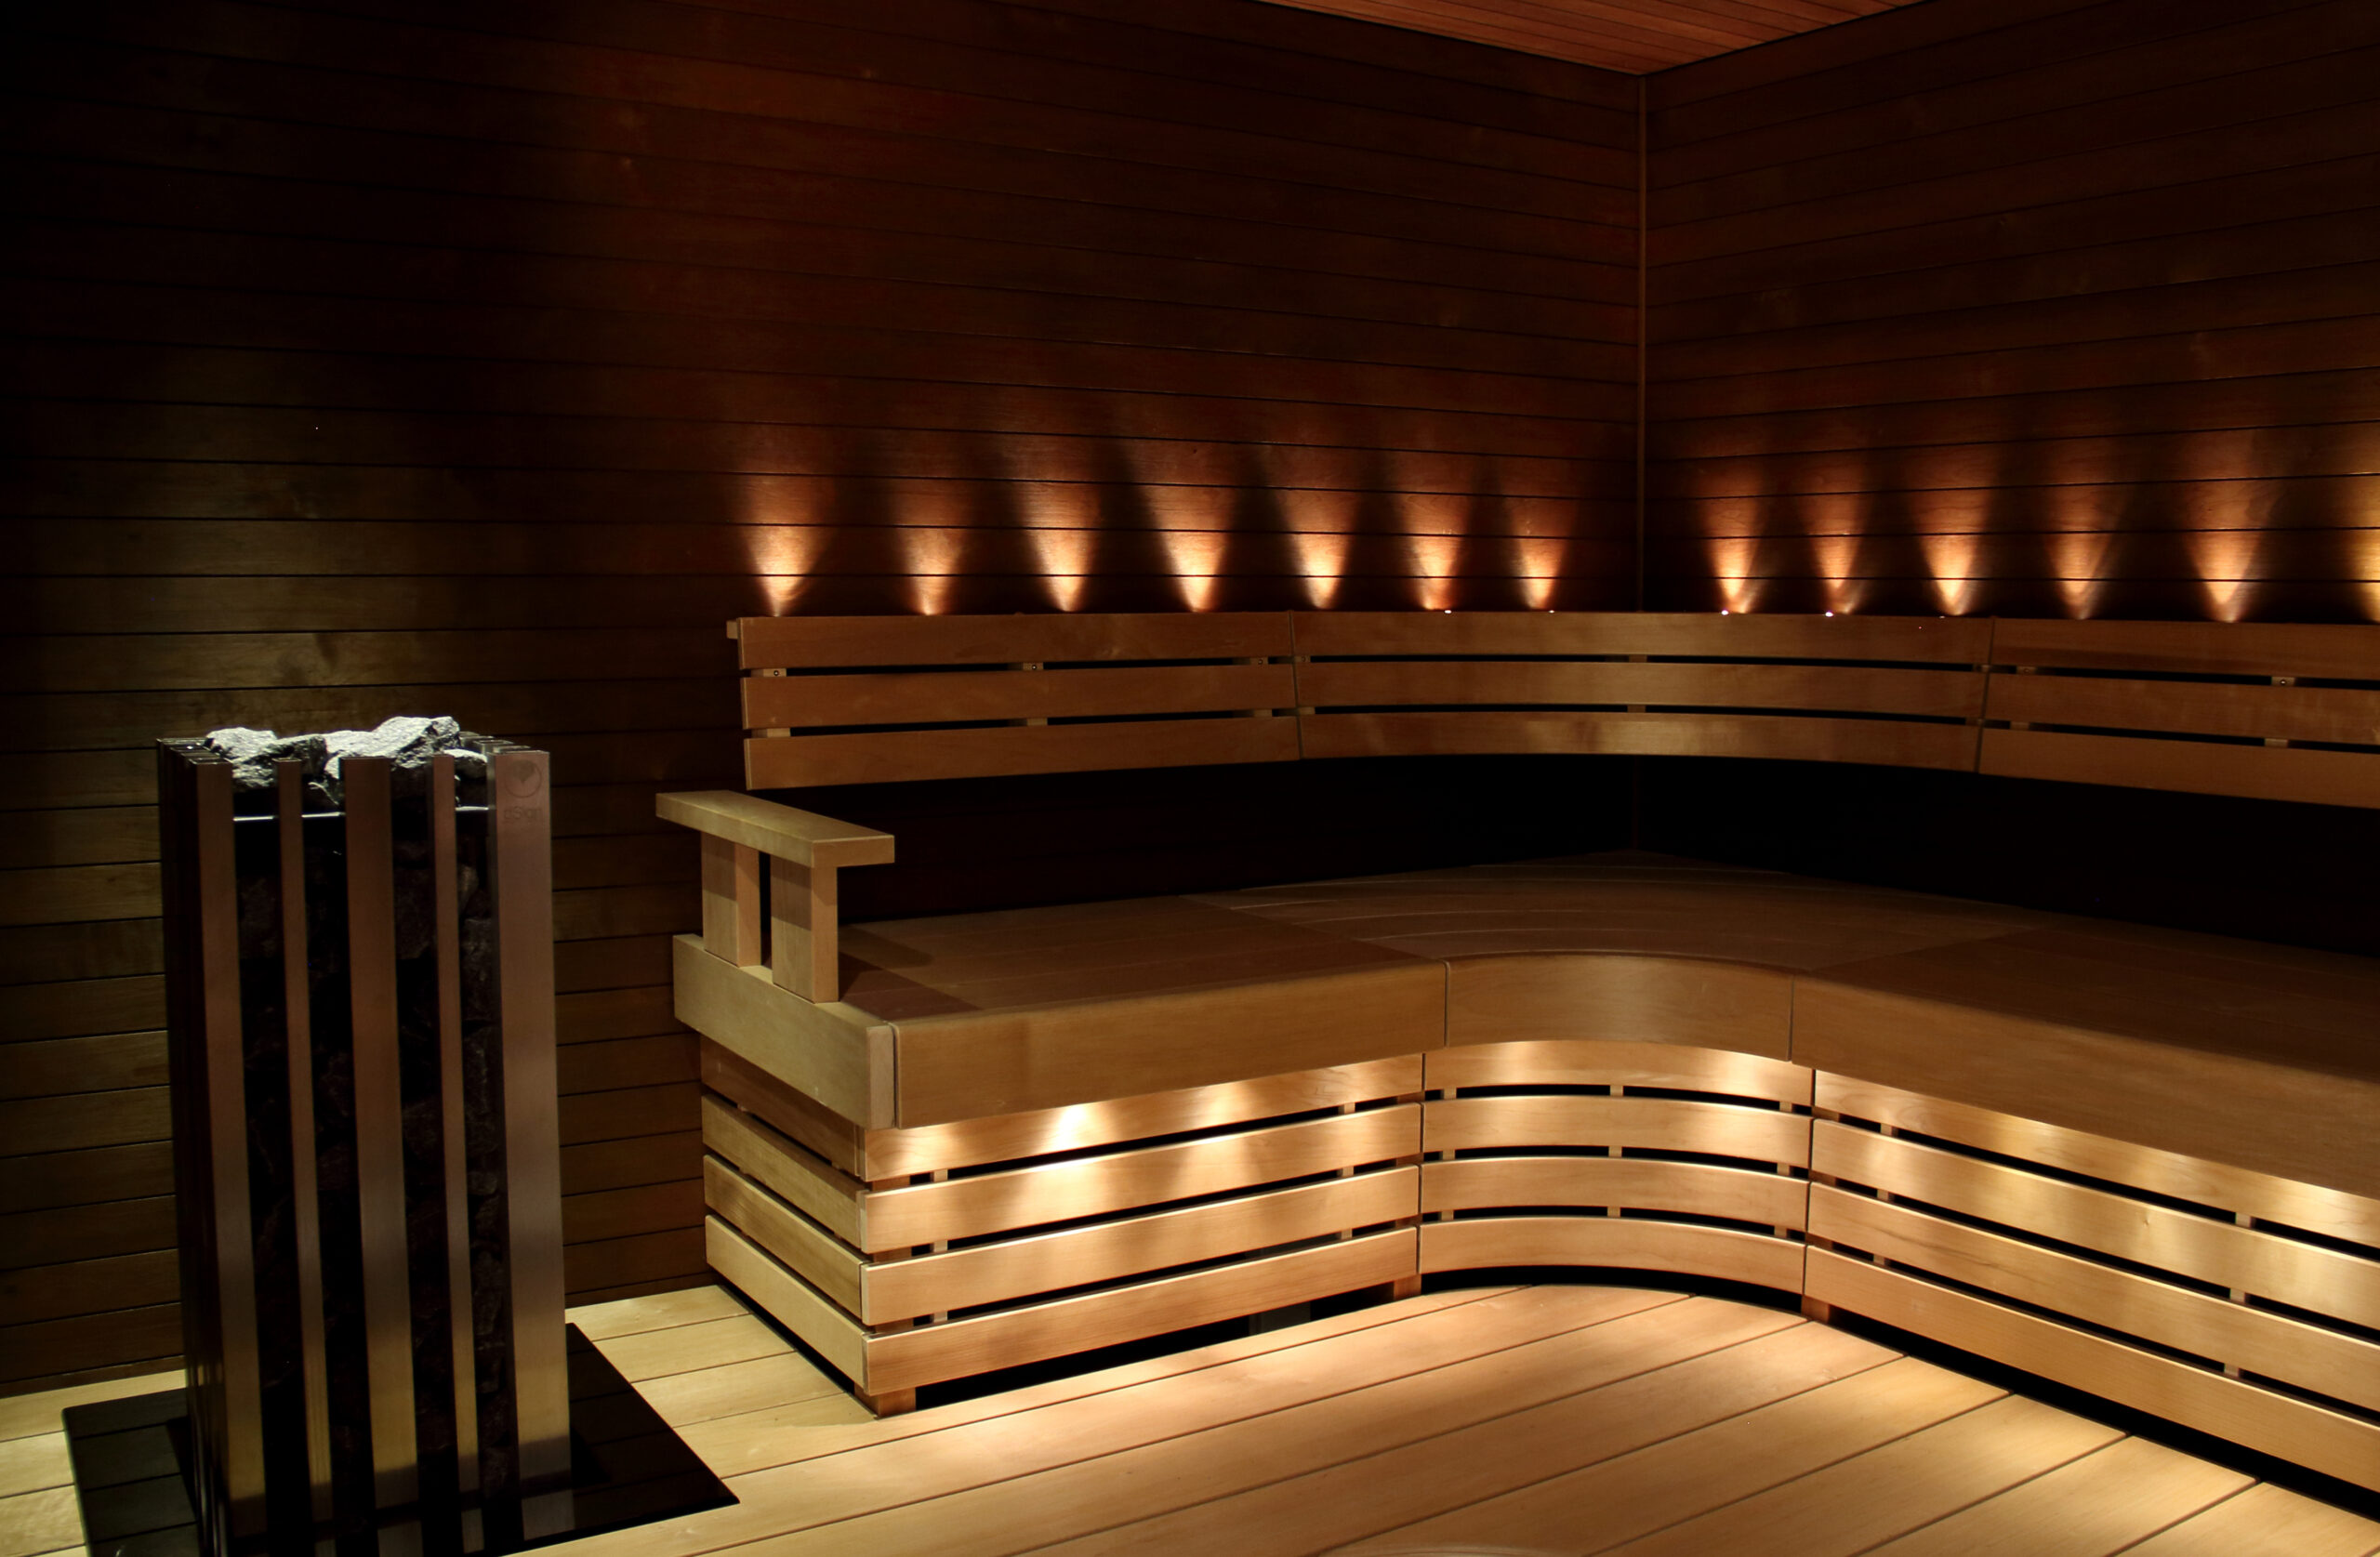
Lighting can create a significant difference in the atmosphere of a sauna. Consider installing dimmable lights to bring a soft and relaxing glow to your sauna. LED lights can also work beautifully underneath the slabs or in the ceiling, highlighting the sauna’s structure without glare.
Finish off your sauna with cosy and practical decorative elements. Soft sauna textiles, such as tablecloths and peflets, add comfort. You can also add interest with a variety of decorative items, such as natural stones or wooden ornaments, which are easy to care for and suitable for the sauna space.
Finishing and decoration will crown your sauna renovation. Now you have a space where every detail has been carefully thought out, inviting you to relax amidst the hustle and bustle of everyday life.
Bring your ideas to life – try our free design tool and build the sauna of your dreams
The sauna is the heart of the Finnish home, a place to relax...
Read more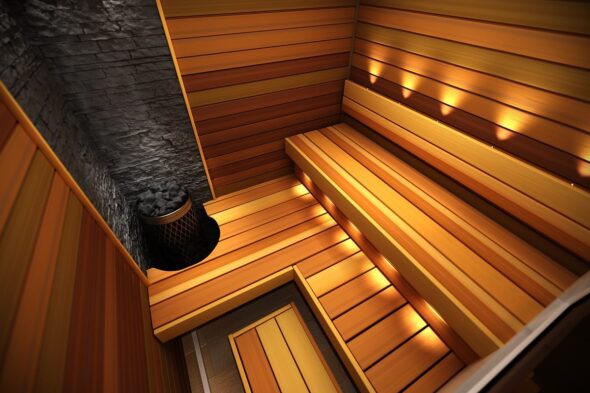
For Finns, taking a sauna is a deeply rooted part of their culture...
Read more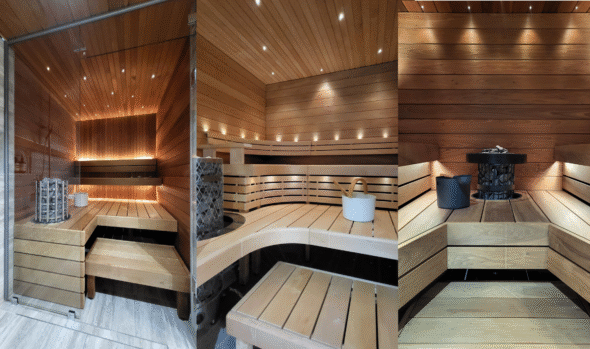
The sauna is the heart of the Finnish home, a place where you...
Read more