Renewing the sauna atmosphere? Dive into the world of sauna panels
For Finns, taking a sauna is a deeply rooted part of their culture...
Read more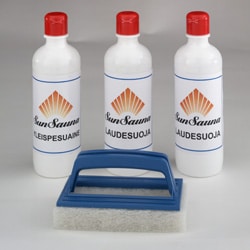
I recently received a very comprehensive list of questions from one of our customers about how to clean the sauna properly. Answering the questions and reflecting on them gave me a great feeling to share these tips more widely through our blog. After all, a hygienic and well-cleaned sauna area is more comfortable to use and, in the best case, it will give the benches, for example, a much longer lifespan than a poorly maintained sauna. It is also a good idea to consider the cleaning of your sauna if it is part of the design process.
It all really starts with the environment in which the sauna is used. In this part of the blog, we will look at private and “lighter” sauna rooms in detached or semi-detached houses, where the cleaning and maintenance is different from public hard-use saunas.
It’s always a good idea to start by vacuuming the floors to remove dust, lint and other “loose debris”. Our prefabricated, ready-to-use tiles are easy to dismantle. Easy cleanability combined with aesthetic appearance is, in our opinion, one of the most important features of a floor. Cleanability is taken into account in the design and good washability allows for excellent hygiene. Good structural solutions guarantee functionality. All our range of ready-made desing boards (Relax, Classic, Wave , and Log boards) feature tool-free removable board rails and a removable footboard frame structure. The sauna tile floor is then easy to wash with a spatula or brush. Cleaning can then be continued by washing the decks.
The Sun Sauna Lawn Care Package comes with a laundry detergent and a cleaning cloth. The rails are washed one by one with a sponge or brush on both sides of the rails. Usually the front edges of the lauderalls get the most dirt and should therefore be cleaned particularly carefully. The purpose of the sponge or brush is not to apply detergent to the board, but to remove the dirt adhering to the board with the detergent. So use a brush for brushing. However, remember to use a brush that is soft enough to avoid scratching the surface of the laude.
Finally, the dirt removed from the tile with a brush is rinsed off the tile surfaces with water. The easiest way to get the dirt off is to use enough water. It is not advisable to use a pressure washer, as a small amount of water and high pressure will not remove the dirt from the wooden surfaces effectively enough and may also damage the surface of the board.

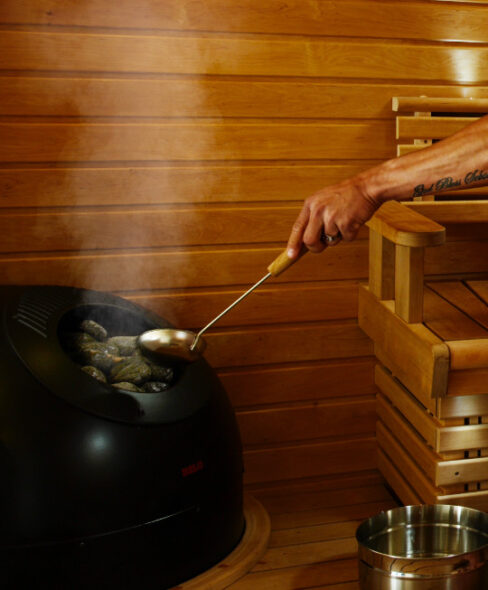
Finally, the ceilings are dried by taking them to a warm sauna. Once the rugs are dry, the last step before bathing is to treat the laute with paraffin oil. The oil gives the boards a dirt-repellent protective layer. The best way to get the oil to soak into the wood is to turn the stove on at low power and raise the temperature in the sauna to around 40°C. This will ‘open up’ the grain patterns in the surface of the wood and allow the oil to soak into the wood better. Below you will find more detailed instructions for oiling the lute:
A home sauna should be washed and oiled about 2-3 times a year – in fact, many sauna owners wash their sauna thoroughly at Midsummer and Christmas. In addition to a more thorough wash, it is a good idea to do a ‘light’ brushing and rinsing of the benches every now and then between washes. Always remember to make sure that the tiles dry well. Constant dampness causes considerable wear and tear to the wood.

A thorough cleaning should also include washing the glass wall between the sauna and the washroom. The glass wall comes with the Sun Sauna Glass Wall Care Kit, which includes a clay-based cleaner and sponge. The cleaner is applied to the glass surfaces by sponging and scrubbing. Finally, the glass surfaces are rinsed well with water. The clay-based agent ‘grinds’ the glass surface and removes any lime deposits that may have accumulated on it. Good sauna design can prevent excess water from hitting the glass, making cleaning easier.
In addition to cleaning clay, the Sun Sauna glass wall care package contains a nano-coating agent that prevents limescale from adhering to the glass. It is recommended to protect the glass with a nano-coating even before the sauna is put into operation.
For Finns, taking a sauna is a deeply rooted part of their culture...
Read more
The sauna is the heart of the Finnish home, a place where you...
Read more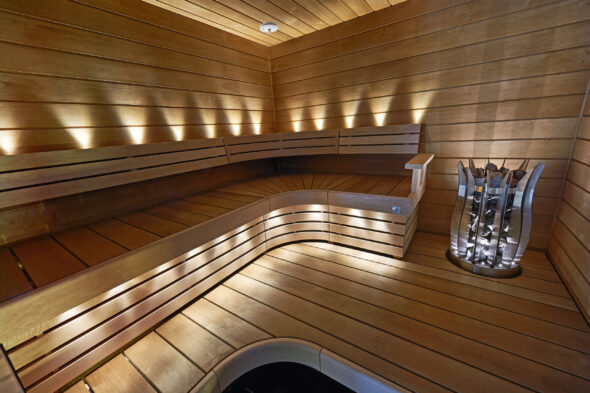
Sauna lighting is more than just a practical convenience. It is an essential...
Read more